The Task Management Process

Figure 1: Work from the top down to capture all your project’s tasks.
Based on what we learned in the previous posts on the task management basics and its various views, we can divide our task management process up into the handful of stages. We’ll build a sample task list as we walk through this process in the following sections.
High-Level Task Creation

Figure 2: Adding initial tasks to your project in Asana.
First, get all the high-level tasks out of your head and into the app. The what that needs to get done. Focus on thinking each one through, and make sure it’s something someone can look at and say, “OK, I understand what I need to do here.” For example, “mock up website” leaves a lot of room for interpretation. But a task of “create home page mock-up,” with an accompanying description of, “Do this in Google Draw using the linked template here and provide two options (one close to the current home page, and one outside the box,” is much better. (We’re filling in the Title and Description fields during this step.
Task Breakdown
Think about breaking larger tasks down into smaller parts as well. To continue the home page example, you could divide this into two sub-tasks, or split them into low-fidelity (i.e. wireframe) and high-fidelity (i.e. with all the pretty colors and pictures) iterations. Breaking tasks down provides two benefits. First, it gives your colleagues a closer goal to hit. Second, it makes it easier to shift some of that work to someone else if needed. /In this step, we’re still dealing with Title and Description, and changing these as necessary based on how our task list is structured.

Figure 3: Sub-task breakdown in ProjectLibre.
Capturing Related Tasks
Also consider if certain tasks require others work to be done. We won’t define these as predecessors as part of this module, but they should still be captured as additional tasks. An easy example here is, if your end goal is to launch a web site, you’re going to need someone to set up your server at some point. Again, at this stage we’re capturing more tasks by filling in their Title and Description.
Effort Estimation

Figure 4: Effort defined by start and end dates in WeKan.
Next, think about how much effort each task will require. You should based this not only on how long it would take if everything went perfectly, but also on how long it might take if all sorts of things go wrong. Use common sense here–sure, you could set this at one year for everything, but then you’d never finish! A good rule of thumb is to set this to a value that, you could finish on time 9 times out of 10. If your task management system supports Effort, you can start entering it at this point. But if not, don’t start setting Start Dates and Due Dates just yet.
Task Assignment
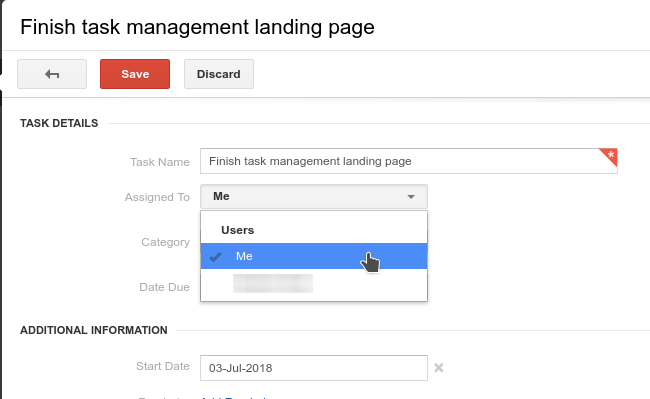
Figure 5: Doling our your tasks in Insightly.
Finally, you can start assigning all the various tasks to your team. Remember to keep in mind their availability, both in terms of their working hours (is someone going on vacation? is anyone part-time?) as well as their workload (can they work all-day, everyday on this? half of every day? only on Thursdays?). In a task management system this will require some fiddling with dates and/or team members
Now that we have a solid idea of the process, the next step in our journey is to look at some of the solutions actually available to you. We’ll begin with a popular solutions out there for small orgs: Asana.
